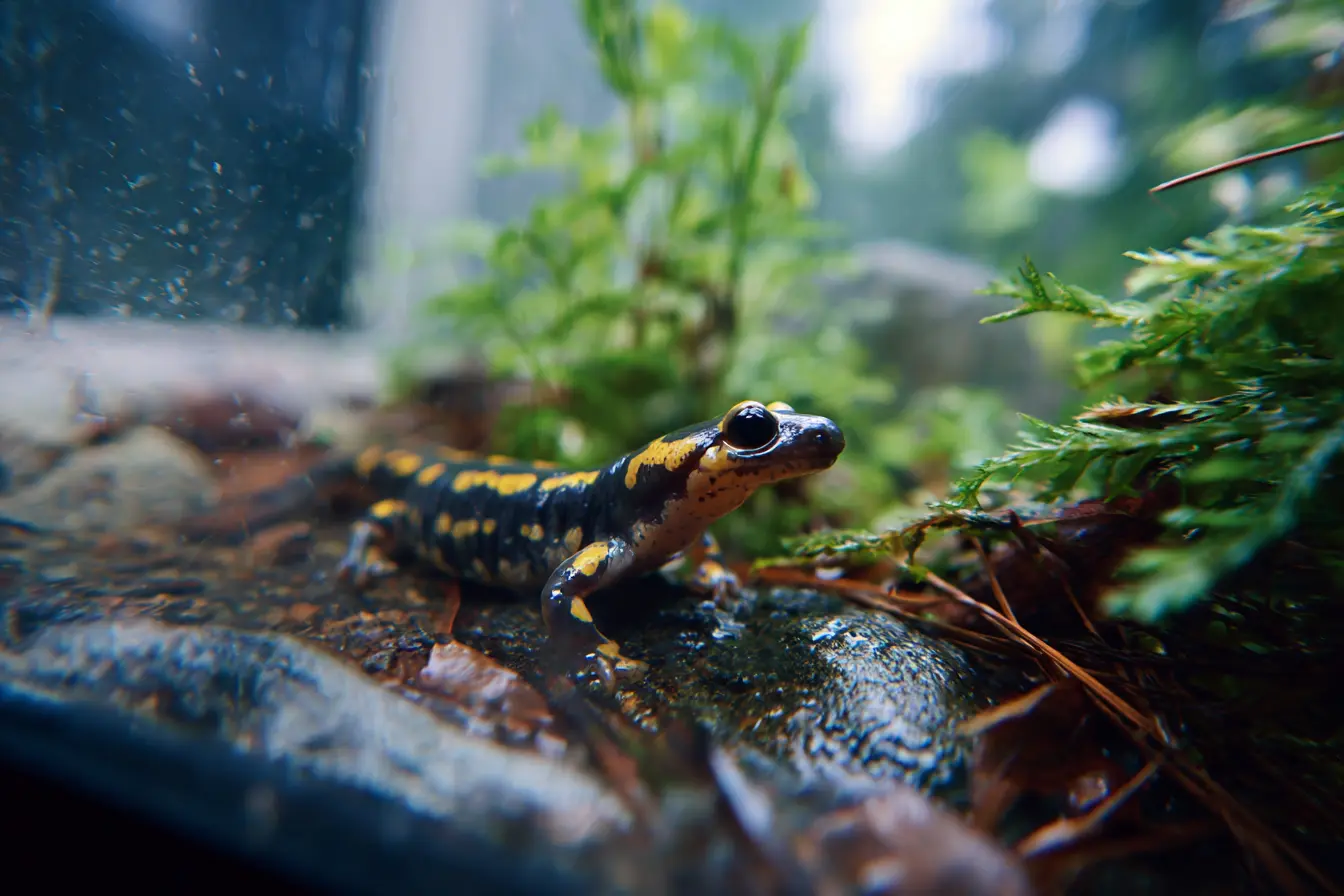
How to Create a Bioactive Setup for Amphibians and Reptiles
A bioactive setup is a self-sustaining enclosure that mimics natural ecosystems by incorporating live plants, beneficial invertebrates, and microorganisms. Not only does it look stunning, but it also improves the health and wellbeing of your amphibians or reptiles while reducing maintenance over time.
This guide will take you step-by-step through creating a successful bioactive vivarium.
What Is a Bioactive Setup?
A bioactive setup includes:
- A naturalistic substrate with organic components
- Live plants suited to the species and environment
- A clean-up crew of microfauna such as springtails and isopods
- A drainage layer to manage excess moisture
- Proper lighting, heating, and humidity for the resident species
These components work together to break down waste, maintain humidity, and support plant growth, closely replicating what your pet would experience in the wild.
Benefits of a Bioactive Enclosure
- Natural waste breakdown from beneficial microfauna
- Healthier air quality and humidity levels
- Enrichment and mental stimulation for the inhabitant
- Reduced cleaning and odour
- A visually appealing, lush environment
Choose the Right Enclosure
Select a glass or PVC vivarium suitable for the species you're keeping. The size and shape should match the animal’s needs — arboreal species need height, while terrestrial species need floor space.
Make sure the enclosure allows for:
- Stable temperature and humidity control
- Ventilation without drying out the environment
- A secure lid to prevent escapes
Create a Drainage Layer
A drainage layer prevents the substrate from becoming waterlogged and promotes healthy plant roots.
Common options include:
- Expanded clay balls (LECA)
- Lava rock
- Aquarium gravel (less preferred due to weight)
Add a mesh layer or landscaping fabric above the drainage material to separate it from the substrate.
Add the Substrate
A bioactive substrate should support both plant growth and microfauna. You can use a pre-made mix or make your own with:
- Coconut fibre (coir)
- Organic topsoil (chemical-free)
- Leaf litter
- Sphagnum moss
- Sand or fine orchid bark (optional, depending on species)
The substrate should be deep enough for plant roots and burrowing animals — typically 5 to 10 cm or more.
Introduce the Clean-Up Crew
A healthy bioactive tank relies on a population of detritivores to consume waste and prevent mould.
Good choices include:
- Springtails – tiny arthropods that eat mould and decaying matter
- Isopods (woodlice) – break down leaf litter and organic waste
Choose species suited to your animal’s temperature and humidity requirements. Introduce them after the substrate is in place but before the animal.
Add Leaf Litter and Natural Decor
Layer dried oak or magnolia leaves over the substrate. This helps retain moisture, feeds your clean-up crew, and creates hiding spots.
You can also add:
- Cork bark
- Mopani or driftwood
- Smooth rocks
- Seed pods and natural ornaments
Avoid chemically treated wood or anything sharp.
Plant the Enclosure
Choose live plants that thrive in the same conditions your pet requires. Popular options include:
- Pothos (Epipremnum aureum)
- Snake plant (Sansevieria)
- Ferns
- Bromeliads
- Mosses
- Philodendrons
- Spider plants
Plant directly into the substrate and water gently. Let the plants establish for a week or two before introducing your pet.
Set Up Lighting and Heating
Provide appropriate lighting based on your animal’s needs:
- Full-spectrum LED or plant light for live plants
- UVB lighting for reptiles that require it
- Ceramic heat emitters or heat mats if needed for warmth
Ensure the light cycle matches natural day/night rhythms — typically 12 hours on, 12 hours off.
Monitor Temperature and Humidity
Install thermometers and hygrometers at different points in the tank. Adjust misting frequency, ventilation, and heating to maintain ideal conditions.
For example:
- Tropical species: 70–90% humidity
- Temperate species: 50–70% humidity
- Day temperatures: 22–28°C depending on the species
Introduce the Inhabitant
Once the tank has stabilised — usually 2 to 3 weeks after planting — and microfauna are active, you can introduce your amphibian or reptile.
Monitor their behaviour closely during the first few days to ensure they are adjusting well to their new home.
Maintenance Tips
While bioactive setups are low maintenance, they are not no-maintenance:
- Spot-clean uneaten food and large waste as needed
- Top up leaf litter and misting water regularly
- Trim plants if they become overgrown
- Check for signs of mould or pests
- Supplement clean-up crews periodically if needed
Avoid over-cleaning, as it can disrupt the ecosystem. Most waste should break down naturally over time.
Suitable Species for Bioactive Setups
Bioactive enclosures are ideal for many species, including:
- Dart frogs
- Tree frogs (e.g. red-eyed tree frogs, white's tree frogs)
- Crested geckos
- Day geckos
- Anoles
- Small snakes (e.g. garter snakes)
- Salamanders and newts
- Invertebrates like millipedes and beetles
Avoid using bioactive setups with very large or destructive species that may uproot plants or disturb the substrate excessively.
Final Thoughts
A bioactive setup is a beautiful, functional way to house reptiles and amphibians. By replicating natural systems, you create an enriching, healthy habitat that benefits your pet and makes your life easier. While initial setup takes some planning and effort, the long-term rewards make it more than worth it.
Whether you’re keeping a single tree frog or building a miniature rainforest, a bioactive enclosure can bring a slice of the wild into your home.
Contents
- What Is a Bioactive Setup?
- Benefits of a Bioactive Enclosure
- Choose the Right Enclosure
- Create a Drainage Layer
- Add the Substrate
- Introduce the Clean-Up Crew
- Add Leaf Litter and Natural Decor
- Plant the Enclosure
- Set Up Lighting and Heating
- Monitor Temperature and Humidity
- Introduce the Inhabitant
- Maintenance Tips
- Suitable Species for Bioactive Setups
- Final Thoughts
Tags
Vets near you
Speciality vets
- Aquatics vet specialists
- Birds vet specialists
- Camelids vet specialists
- Cats vet specialists
- Cattle vet specialists
- Deer vet specialists
- Dogs vet specialists
- Equines vet specialists
- Exotic vet specialists
- Goats vet specialists
- Pigs vet specialists
- Poultry vet specialists
- Sheep vet specialists
- Small Mammals vet specialists
- Wild vet specialists
Vet facilities
- Accessible by public transport
- Blood testing
- Car park nearby
- Client car park
- Dentistry
- Diagnostic imaging
- Disabled public access
- Flea and worm treatments
- Microchipping
- Mobile services
- Neutering
- Open at weekends
- Out-of-hours service
- Referral interests
- Referrals only
- Street parking outside
- Toilets available
- Vaccinations
